
Connect an MCP agent
Configure the QH Pixels local stdio MCP server and connect an external agent to the studio’s SQLite documents.
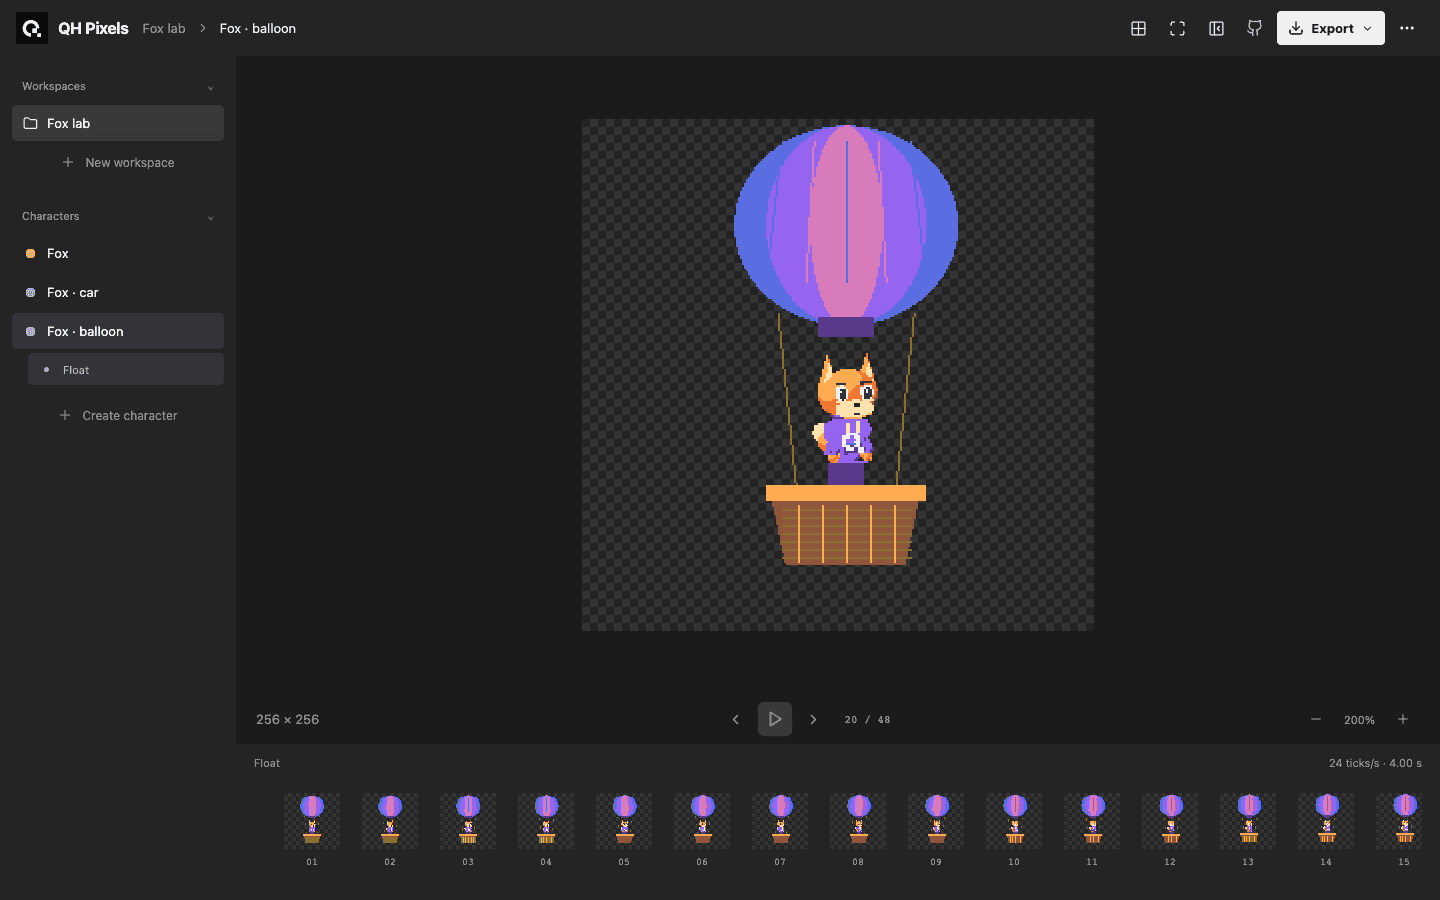
Before you start
Install QH Pixels. Use an agent client that supports standard local stdio MCP. Both the studio and MCP server must point to the same checkout and its local SQLite documents.
Configure the connection
-
Add this server to your agent client’s MCP configuration. Replace the example path with the absolute path to your checkout:
{ "mcpServers": { "qh-pixels": { "command": "node", "args": ["/absolute/path/qh-pixels/server/mcp.mjs"] } } } -
Restart or reconnect the client. Ensure its
nodeexecutable is Node.js 24 or newer. -
Ask the agent to read
qh://protocol, list workspaces and models, and inspect the selected project before making changes. -
Use the portable QH Pixels skill when your agent supports skills.
The agent should discover the QH Pixels tools, and its changes should appear in the preview studio. Inference stays in the external agent; the browser does not run an image-generation service.
Edit and export carefully
Use read_region and preview_frame to inspect a small region or frame. Batch numeric edits with apply_operations and the current revision. On a conflict, reread the project before retrying. Revision restore retains previous local edits.
export_project supports PNG, sprite sheets, JSON, GIF, and MP4. Read the tool protocol for the exact arguments. Do not invent intermediate poses: playback repeats held frames. Use PNG or JSON when exact pixel data matters.
If the client cannot start the server, verify the absolute script path, Node version, and installed dependencies. If studio changes do not appear, check that both processes use the same checkout and database.
Source captured: 2026-10-13